
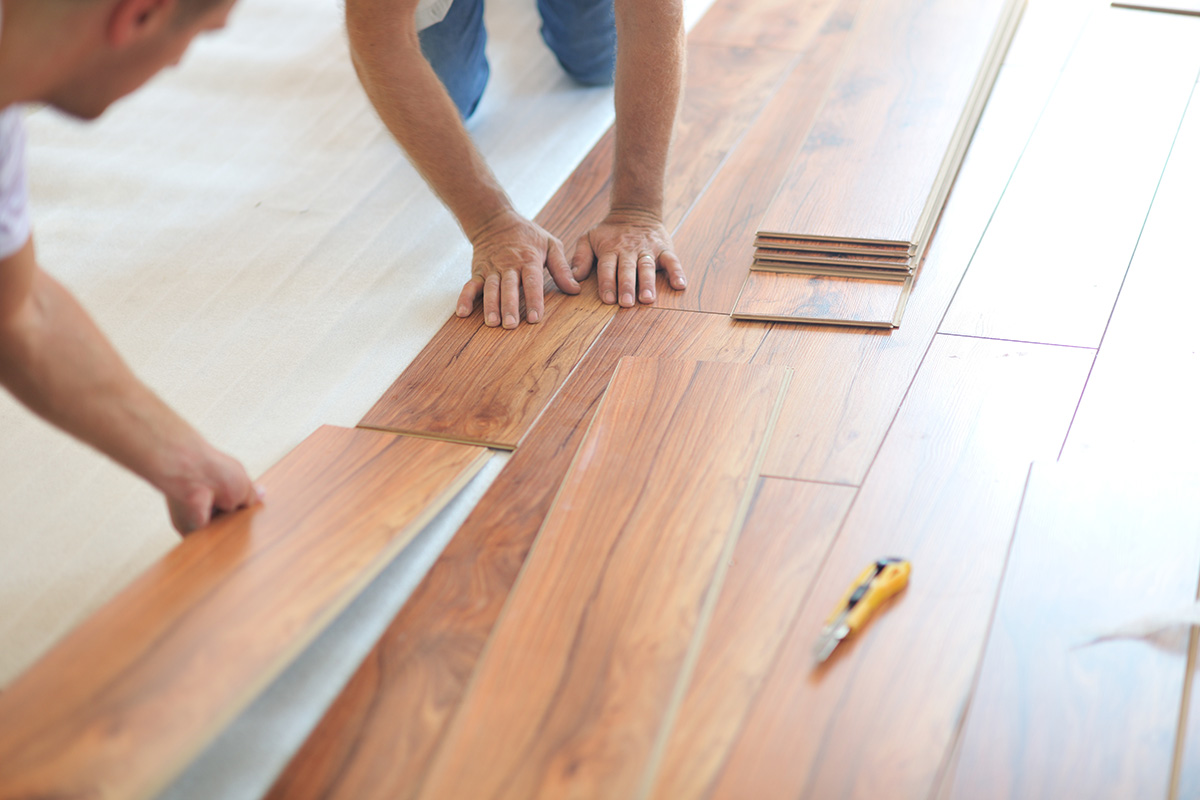
How to Install Laminate Flooring
Related Posts

8 Reasons Why You Should Choose Oak Flooring in 2025
Flooring is more than just a surface to walk on; it influences the overall atmosphere, functionality, and long-term value of your space. Whether you are renovating, building a new home, or upgrading a commercial area, choosing the right flooring is a decision that pays off in durability, aesthetics, and resale value. Among the various options […]
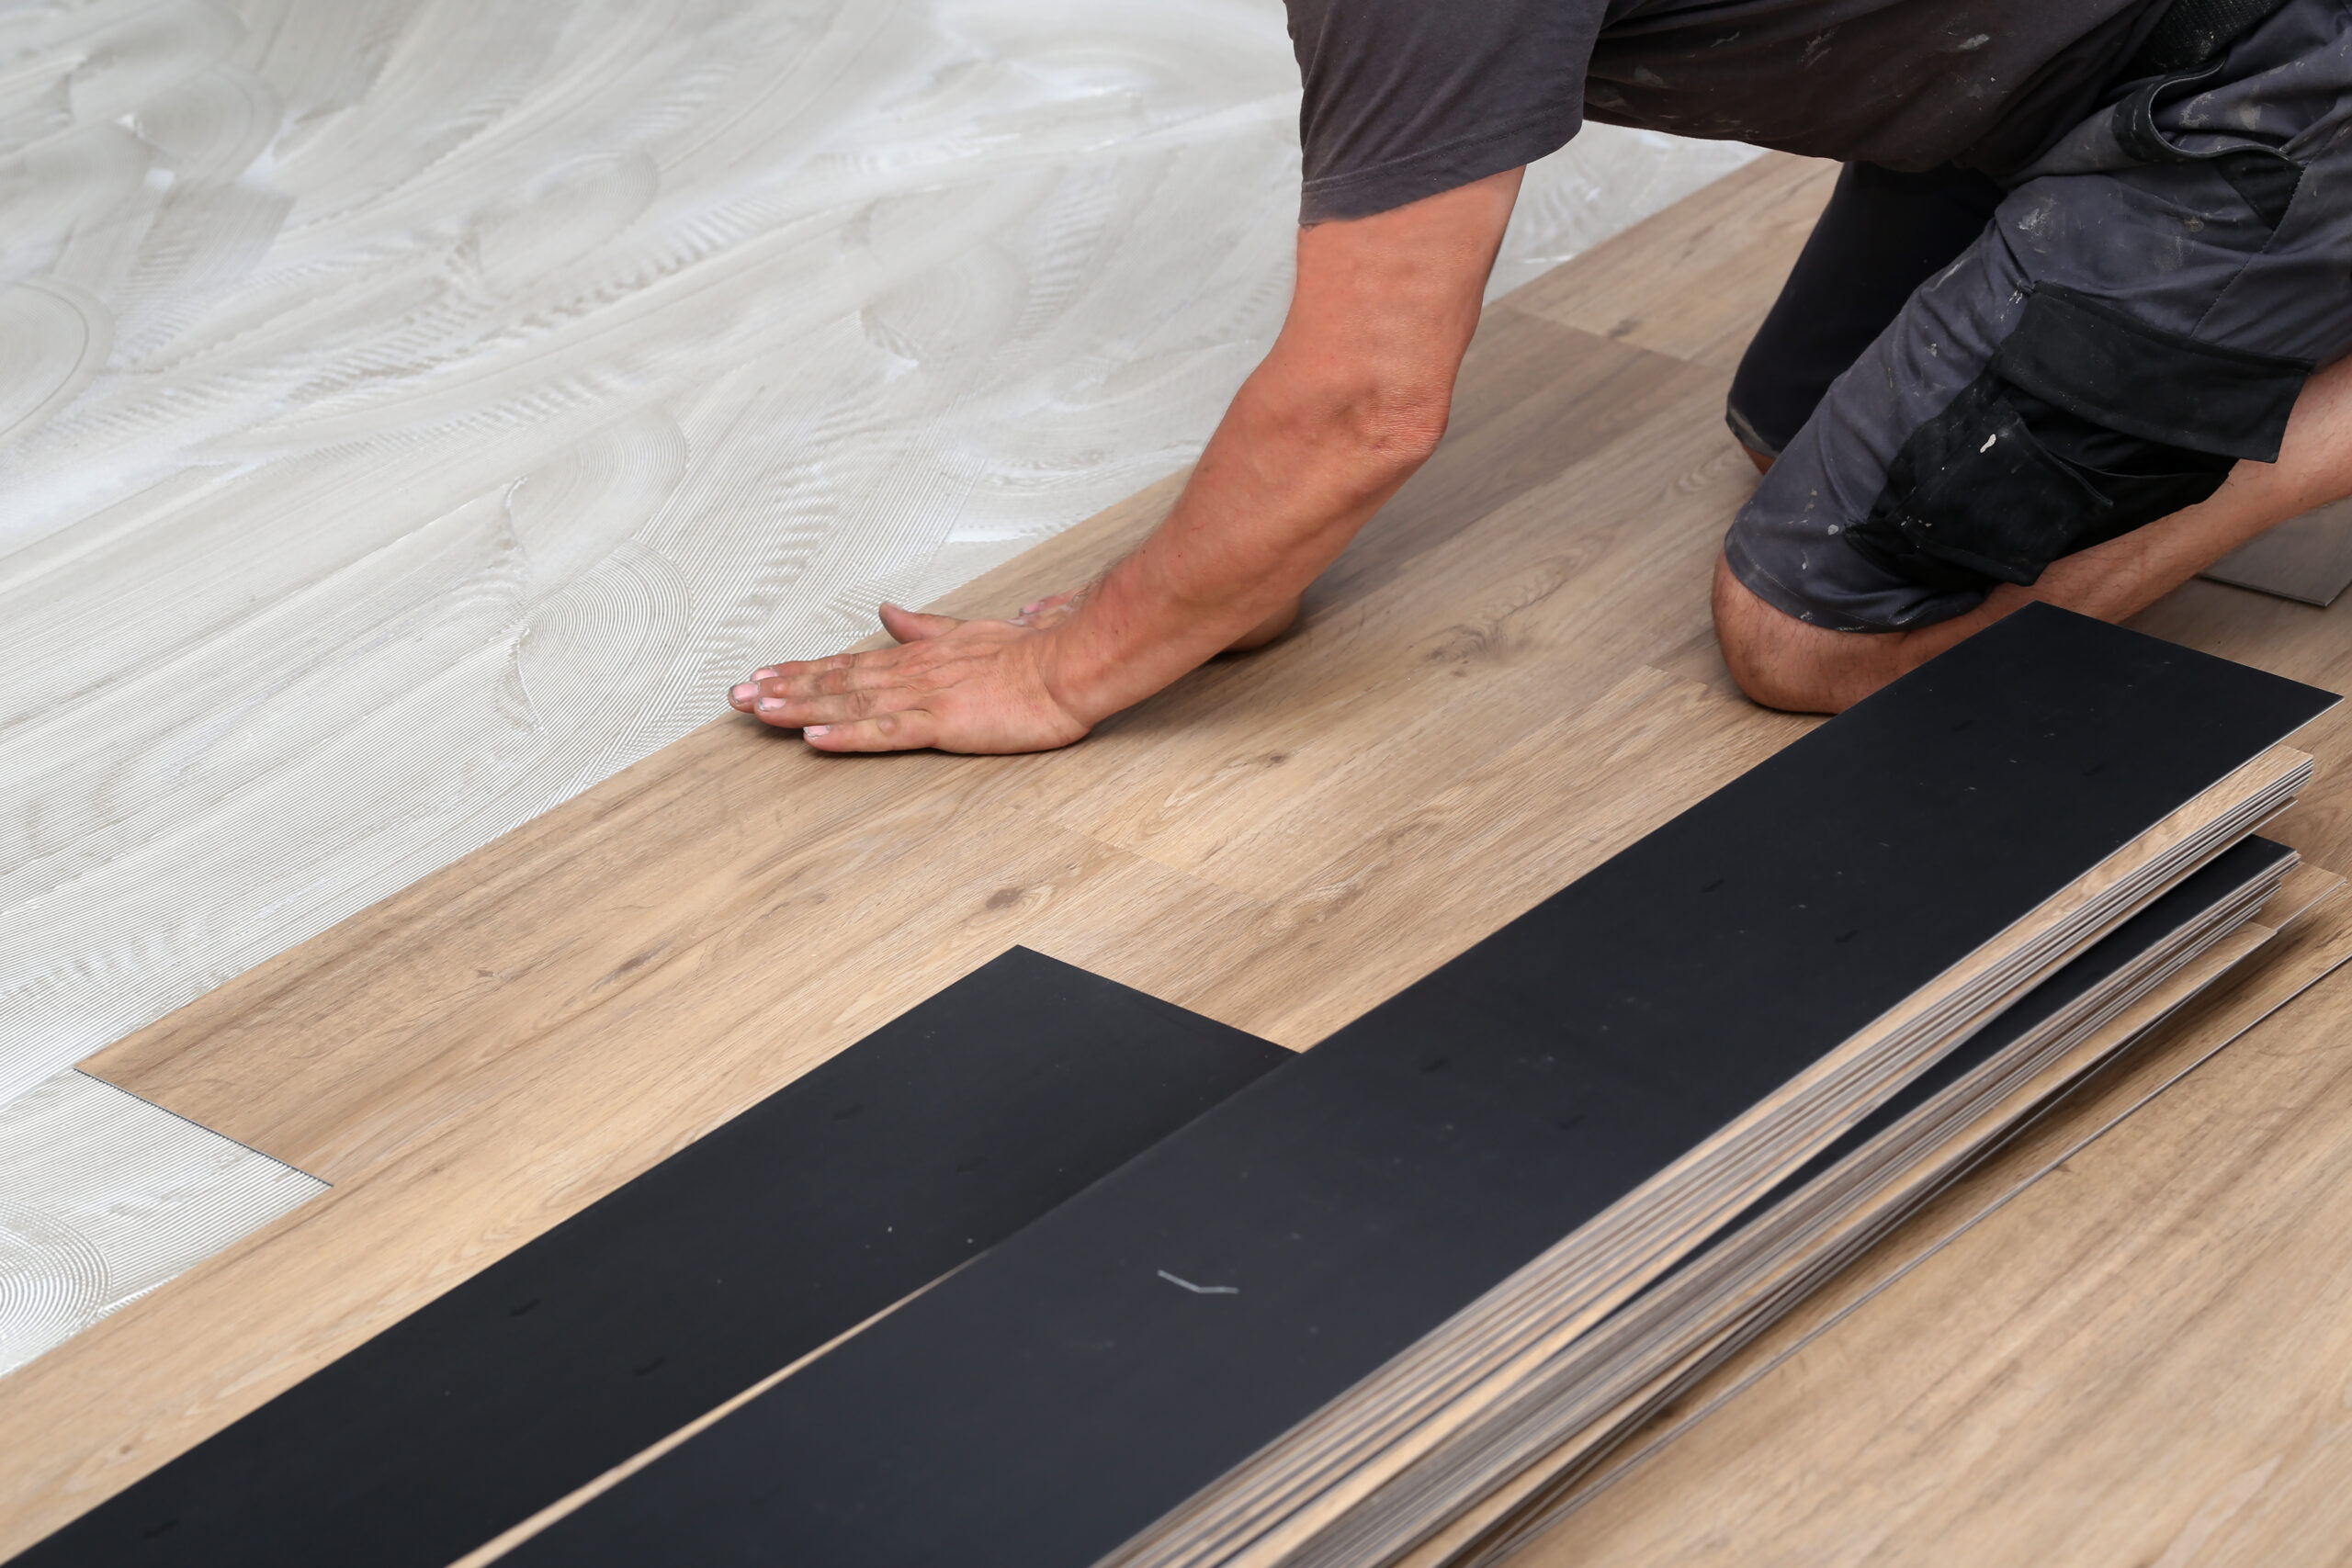
How to Install Vinyl Plank Flooring – Complete DIY Guide
Your flooring serves multiple purposes because it protects your feet from contact with the basement while simultaneously determining your home’s appearance and setting the lighting atmosphere throughout the day. Modern flooring with excessive care requirements serves as constant recallers that your house has not reached its full potential. Homeowners need to seek flooring alternatives since […]

How to Choose Waterproof Laminate Flooring For Your Space
Beyond looks your home requires proper flooring to work well and feel comfortable. If you pick the wrong material, minor messes can warp the planks, and cleaning tough marks will take forever. Contemporary waterproof laminate flooring gives traditional flooring style plus a great water repellant for today’s active homes. Our expert review reveals the benefits […]