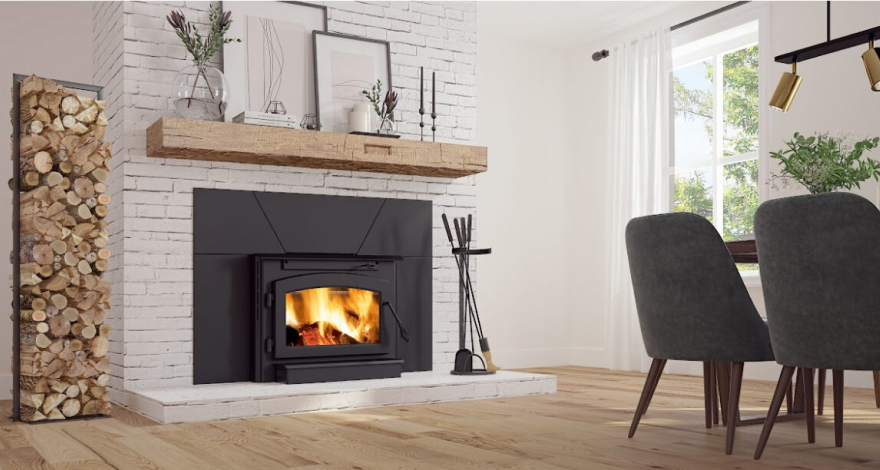
UNVEIL A NEW AESTHETIC FOR YOUR LIVING SPACE
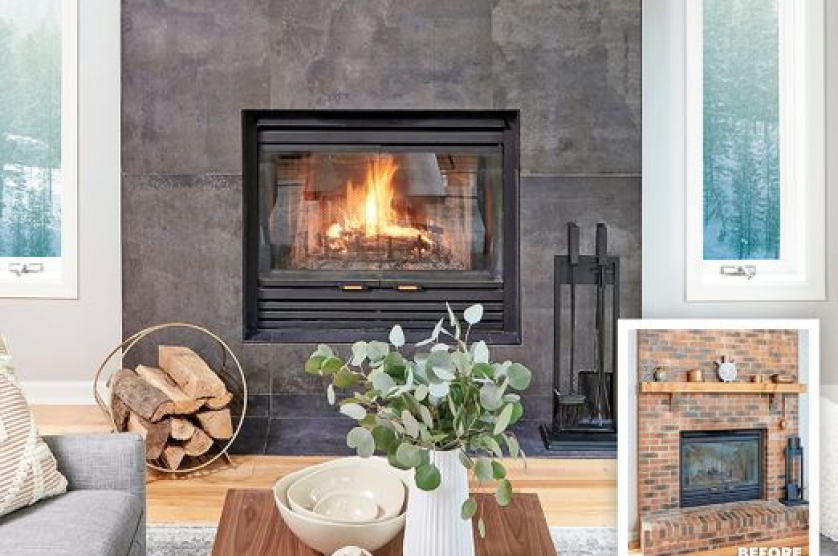
The fireplace surround, often the room’s centerpiece, radiates warmth and style. Revamping its appearance can dramatically alter the ambiance of your space. Whether your fireplace appears outdated, worn, or lacks the charm it once had, refacing it is an impactful weekend project. Follow these fireplace-refacing ideas to transform a mundane brick fireplace into a stylish stone masterpiece.
Shine, Sparkle, and Nature
-
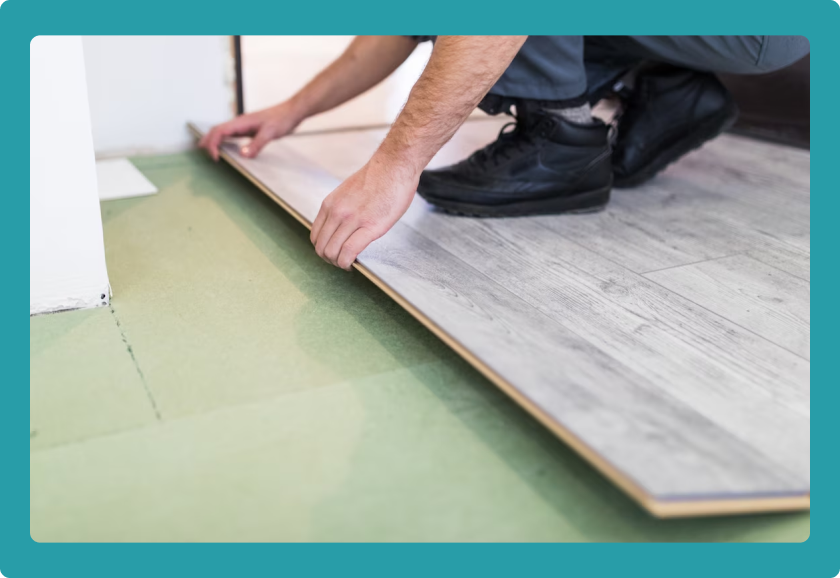
Regular Cleaning:
Sweep or vacuum regularly to remove dirt and grit that can scratch the floor. Use a damp mop with a mild cleaner suitable for your specific flooring type for more thorough cleaning.
-
Immediate Spill Cleanup:
Quickly clean up spills to prevent water damage or staining, especially on wood and laminate floors.
Achieving the rustic glam look is all about balancing the shine and sparkle of glamour with the grounded appeal of natural elements. Whether you desire an equal mix for harmony, a dominance of sparkle for impact, or a subdued approach for neutrality, rustic glam installation can be tailored to your taste.

Removing the Mantle and Trim
-
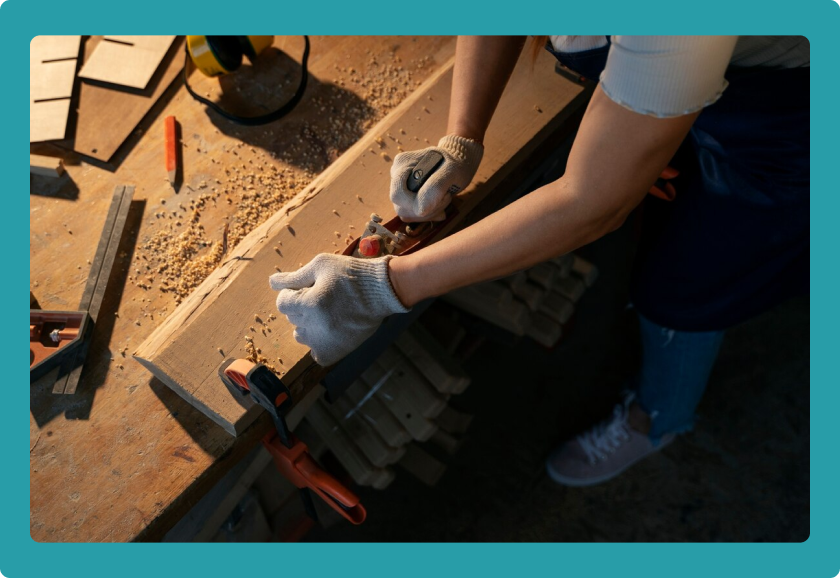
Careful Dismantling
Use a chisel to gently remove the mantle or trim without damaging the existing materials, especially if you reuse them.
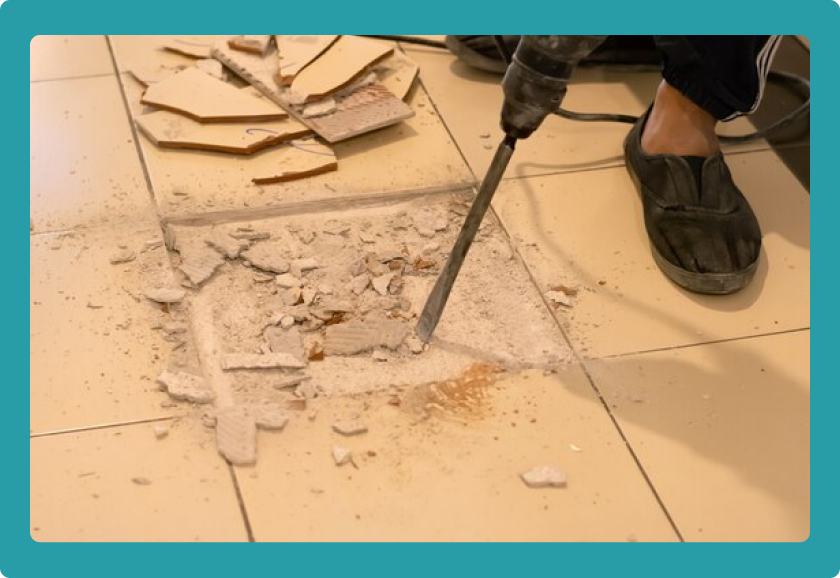
Demolishing the Current Surface
-
Safety First:
Wear protective gear. Clear and cover the firebox opening to protect it from debris.
-
Methodical Removal:
Use an angle grinder and chisel to remove mortar and bricks. Carefully pry the slab stone away from the wall.
Installing Cement Board
-
Preparing the Base
After removing the old material, fit the cement board over the fireplace’s cinder block for a smooth resurfacing base. You might skip this step if your existing fireplace has a smooth stone or mantel surface.
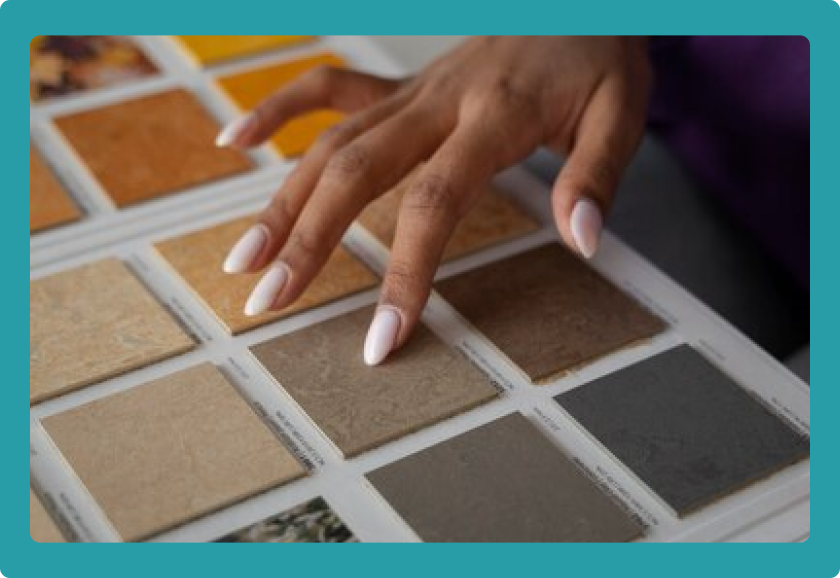
Applying the New Surface
-
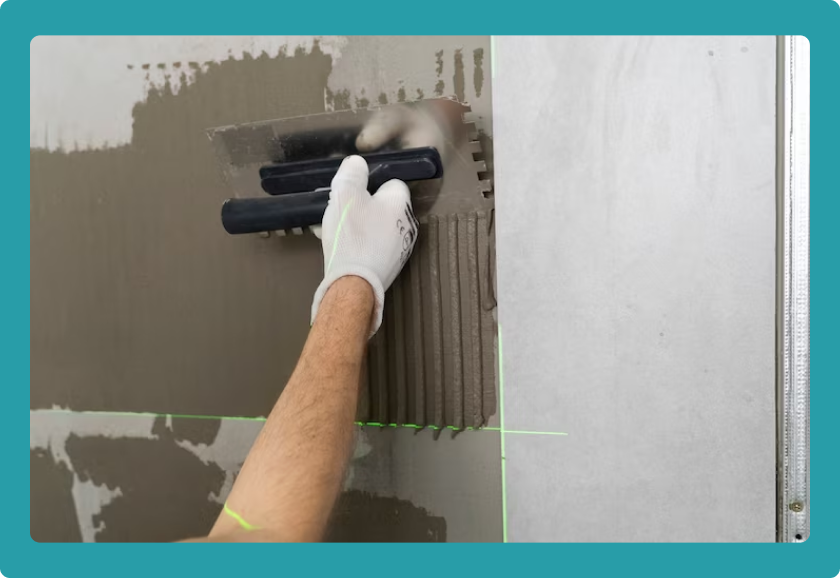
Adhesive Application:
Spread thinset mortar in sections, using a notched trowel for
better grip. -
Tile or Stone Placement:
Start placing your chosen material, using spacers for tiles.

Replacing the Hearth
-
Foundation First:
Install or replace the hearth before completing the fireplace surface.
Completing the Surface
-
Final Touches:
For your fireplace refacing finish covering the surface. If using spaced tiles or stones, allocate the next day for grouting with heat-resistant grout.
Installing Fireplace Doors
-
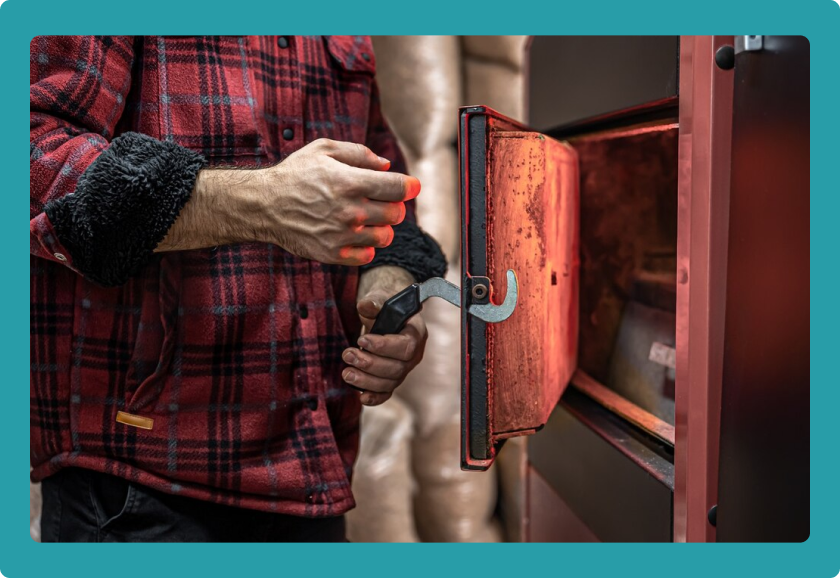
Enhanced Safety and Style:
Fit and secure new fireplace doors for your fireplace refacing to match your new décor, ensuring they are level and securely installed.
Ready to Reface Your Fireplace?
CRT Flooring Concepts is your go-to source for materials and expertise for fireplace refacing projects. Visit us for a diverse range of affordable ledge stones, granite, and more to create your dream fireplace.
Contact us to learn more and get started on your fireplace transformation